User Management
The User Management section lets you create, edit and delete users and user groups.
The page is divided into two tabs, “Users” and “Groups”. Clicking on the title of the tab causes the display of the corresponding table.
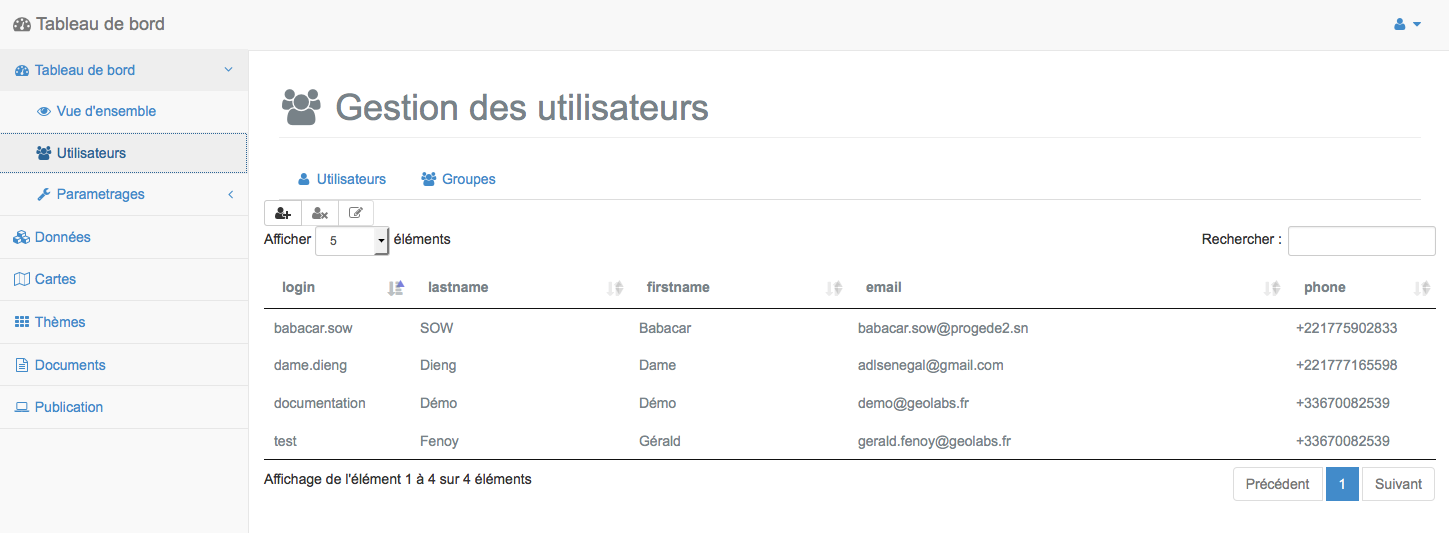
Each tab has the same toolbar having three buttons described below.
Icon |
Action |
 |
Displays the form to add a user / group |
 |
Displays the edit form of a user / group |
 |
Displays the removal of a user form / Group |
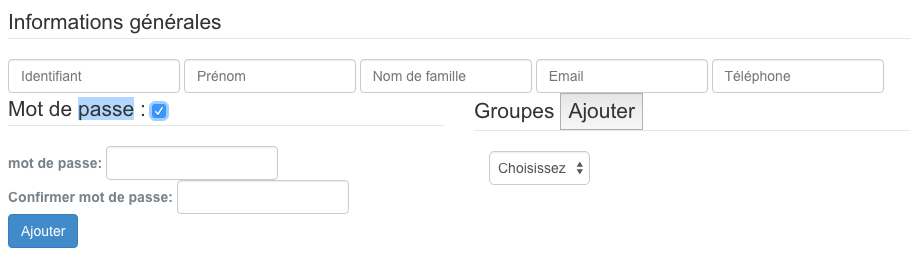
Add User
To add a new user, please click on the “Add” button on the left of the toolbar. This causes the display to add a user form. Please complete all fields and click on the “Add” button.
parameter |
definition |
| Identification | Sets the user name for identification |
Name |
Sets the name for the user profile |
First name |
Sets the name of the user profile |
Password |
Sets the password for identification |
Sets Electronic address of the user profile |
|
Phone |
Specifies the user profile of the phone number |
Group |
Sets / group(s) User |
Warning
All fields are required to create the user account.
Warning
Check the rights necessary for the user and assign a group.
Note
The “public” is not connected to the user interface of the public.
Note
The phone supports the field type values +33100000000
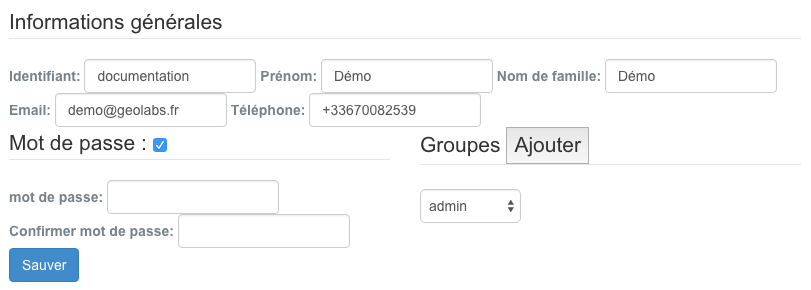
Edit user
To edit a user click on a row in the user table. The latter is then highlighted (green color). Then click the “Edit” button to the toolbar, which causes the display of the edit form of the corresponding user.
All user settings are editable. Click the “Save” button to save the changes, which will be reported in a green band at the top of the screen.
Warning
Changing the user group changes its rights
Delete User
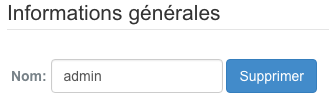
To delete a user, click the corresponding line of the table and click the “Remove” button. This causes the display to delete a user form, shown below.
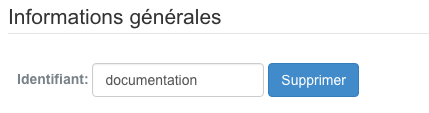
Click the “Delete” button to delete the user from the database.
Warning
Deleting a user is final!
Add Group
To create a new user group, please click on the tab “Groups” on top of the user management window, then click the “Add” button on the toolbar. This causes the display of the add form of a group, shown below.

Parameter |
Definition |
Name |
Defines the group name |
| Description | Defines the group with a short sentence |
Admin access |
Defines whether the group has administrative access |
| Super Admin | Defines if the group has a super administrator access |
Please complete all fields listed in the table above, then click on the “Add” button. This causes disparission form, adding the group in the table and then reload the page. Reopen the user management window and the “Group” tab to see the addition of the new group.
Note
Adding users when creating the group is optional
Note
Groups with the **Super Admin ** parameter checked are super administrators, so they have full access to the setup and user management.
Edit a group
To edit a group, click on a line in the corresponding table. The latter is then highlighted (blue color). Then click the “Edit” button to the toolbar, which causes the display of the edit form of the corresponding user group.
All group settings are editable. Click the “Save” button to save the changes.

Remove Group
To delete a user group, click on the corresponding line of the table and click the “Remove” button. This causes the display to delete a user group form, as shown below.
The group name is specified in a text field, click the “Remove” button to remove the group. This causes the closure of the window, delete the group in the table and then reload the page.
Warning
Deleting a user group is final!