Introduction
A brief overview
General presentation
MapMint is a Geographic Information System (GIS) software running on a web server. It is made to facilitate the administration of a Spatial Data Infrastructure (SDI), publishing cartographic portals and dynamic applications.
The MapMint platform is not only a GIS Software accessible through a simple web browser but also a modular and extensible WEB-GIS application generator. It provides numerous GIS capabilities and lets the user accomplish the following tasks:
Import and store GIS data (both vector and raster data)
Query Relational Database System and external WMS/WFS servers
Publish GIS data by using OGC Web Services: WMS, WFS et WMTS
Create, edit and style data sources
Compose and save maps to create application projects (using mapfile)
Configure and generate Web GIS applications
Configure and use GIS portals
Access and share maps
Basic concepts: using the OGC standards
The main idea behind the MapMint solution is the massive usage of OGC Web Services and making all processing in the solution available as WPS services, using the ZOO-Project OpenSource software.
|
|


Main software components
MapMint is using numerous OSGeo software and brings them all together in a complete and integrated Web-GIS platform by using the WPS to make them understandable and usable from each other.
Software |
Usage |
|
All the processing in the MapMint solution is based on the ZOO-Project and on the OGC WPS standard, even to produce dynamic web pages. |
|
MapMint use the MapServer cartographic engine to publish the data through OGC Web Services (WMS,WFS and WCS) in an efficient way. |
|
The abstraction library used to access and interact with datasources transparently is the GDAL/OGR library. |
|
MapMint User Interfaces (UI) are using OpenLayers. |
The workshop content
In the upcoming sections, you will find general information about what will be done during this workshop and what are the main objectives. The geographic data used is also introduced briefly.
Workshop schedule
You are invited to use the computer available in the room and to start the OSGeoLive 11.0 virtual machine from virtual box.
The workshop is organized in 5 sections:
A presentation on how to install MapMint on your VM
A presentation of MapMint and how it works
Use case example of the module to administrate your GIS data by using an available dataset
An example of map production and spreading of the data as WMS and WFS
A presentation on how to publish an application using map created previously
Note
Please, at any time, do not hesitate to ask the presenters any question you have during the workshop.
Geographic dataset
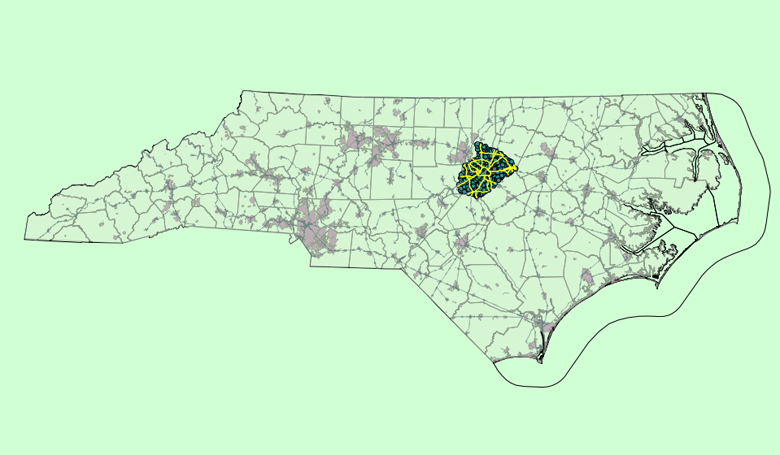
During this workshop, the geographic dataset used is coming from Edu Data Package North Carolina, provided by contributors of the GRASS GIS project and available by default in OSGeoLive.
Data are subject to Creative Commons Attribution-ShareAlike (CC-BY-SA). More information on this dataset are available on this page .
Installing MapMint on the OSGeoLive 11.0 VM
The MapMint application can be installed very simply using Ansible
scripts. It is thus possible to deploy several
instances of MapMint through the use of the ansible-playbook.
In this section, you will learn how to setup only a single instance
which is your local OSGeoLive 11.0 VM.
Before you can install MapMint using Ansible scripts, it is necessary to ensure the presence of some packages and specific Python modules.
sudo apt-get install git python-setuptools openssh-server
sudo easy_install pip
sudo pip install paramiko PyYAML Jinja2 httplib2 six
It is necessary to download Ansible and specific MapMint installation scripts. To do this, use the following commands.
cd
mkdir mm-install
cd mm-install
git clone git://github.com/ansible/ansible.git --recursive
git clone git://github.com/mapmint/ansible-roles mapmint-setup
For making your user able connect to the server on which to install MapMint, you must create a key to enable an automatic authentication. To do this use the following commands.
mkdir ~/.ssh
ssh-keygen -t rsa
sudo mkdir /root/.ssh
sudo cp ~/.ssh/id_rsa.pub /root/.ssh/authorized_keys
Installing MapMint is fully automated via the previously downloaded Ansible scripts, so only remaining task is to launch it. Before that, it will be necessary to set Ansible and specific scripts installation for MapMint to define the name of the machine that will be used to access the instance.
source ~/mm-install/ansible/hacking/env-setup
echo "localhost" > ~/ansible_hosts
sed "s:myhost.net:localhost:g" -i \
   ~/mm-install/mapmint-setup/debian/dependencies/vars/main.yml
export ANSIBLE_INVENTORY=~/ansible_hosts
You are almost ready to start installing MapMint on OSGeoLive 11.0. You only need to make sure that the settings in the installer are correct and the packages required are well available on your local VM. To do this, simply run the following commands.
~/mm-install/scripts/loVersion.sh
apt-cache search postgres
Once run, the first script will inform you in case you need to edit any file to fix the correct version of the LibreOffice software to install. The second command, will give you the version number of the PostgreSQL server available for your distribution. You also have to search for the correct PostGIS version.
So this first file to edit is
ubuntu/dependencies/vars/main.yml. Here, you should set the
correct PostgreSQL version, so you should set pgvers to 9.5 when it
was initially set to 9.3. In the same way, you should also set the
lo_version to 5.3.5 when it was initially set to 5.2.6.
You also have to manually edit the following file:
ubuntu/dependencies/tasks/base-packages.yml to set the correct
PostGIS version. Search for the line defining the postgis package to
setup, it should look like this:
postgresql-{{pgvers}}-postgis-2.2. Nevertheless, you have noticed
earlier, when you were searching for the PostGIS package that the current available version is 2.3.
So simply set the package name
as: postgresql-{{pgvers}}-postgis-2.3.
Once, you have made all the modifications listed in this section, you are ready to start running the Ansible script. To proceed with the installation, please use the following commands.
cd ~/mm-install/mapmint-setup/ubuntu
ansible-playbook -s server.yml -u root -vv
Once the last command is finished, you are almost ready to start using
your MapMint instance that you have just setup. Fist you should ensure
that the settings defined in your main.cfg file is correct and
correspond to your setup. To make sure that the main.cfg file is
correct, please edit the file /ur/lib/cgi-bin/mm/main.cfg which
contains the main settings for your MapMint instance. You will need to
replace every occurence of myhost.net by localhost. The
easiest way to achieve this is to use the following command.
sed -i "s:myhost.net:localhost:g" /usr/lib/cgi-bin/main.cfg
Before being able to access your MapMint instance, the last step is to
edit the following files: public_map/assets/js/cfg.js and
mapmint-ui/templates/preview/.htaccess to replace the following
value: /~djay/progede2/public_map/assets by this one:
/pm/assets.
Now, you are ready to use your MapMint instance.
Welcome to MapMint!
Using MapMint
MaMint is made of an administration interface (MapMint Admin) composed of various modules and a public interface (MapMint Client) containing published maps.
MapMint Admin |
MapMint Client |
|
|

MapMint Admin
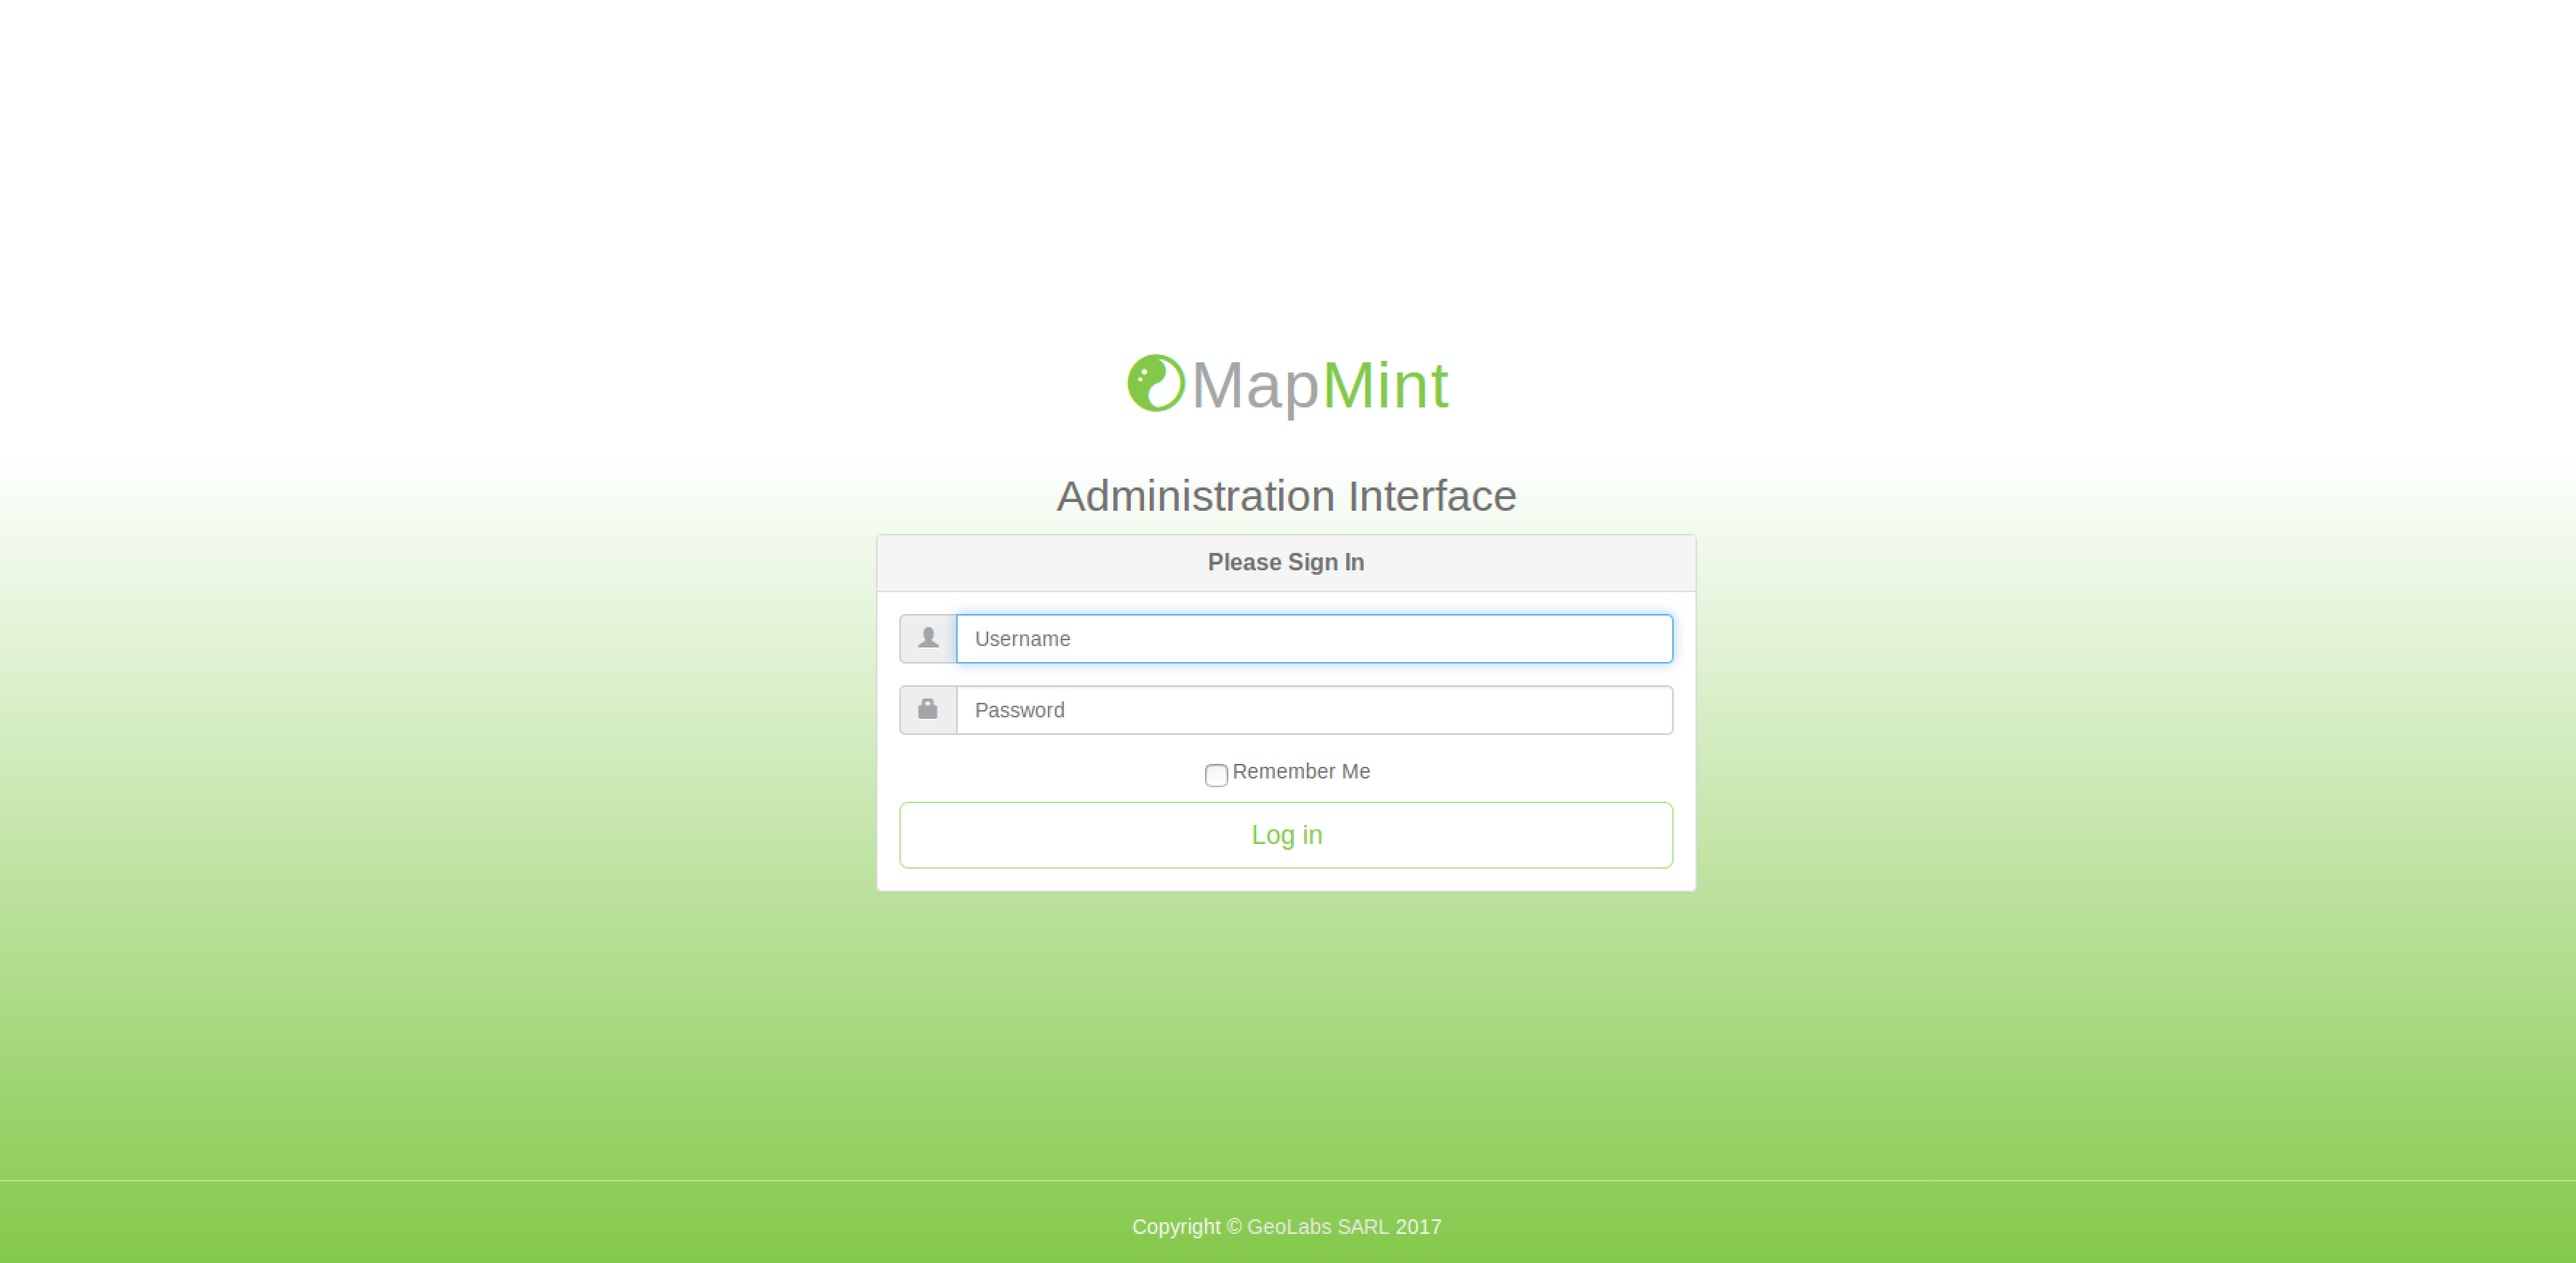
For accessing the administration interface, first use this link MapMint Admin then fill the login and password provided below and press the login button.
Note
login: test
password: demo02
Note
You can also simply press Enter rather than using the Login button.
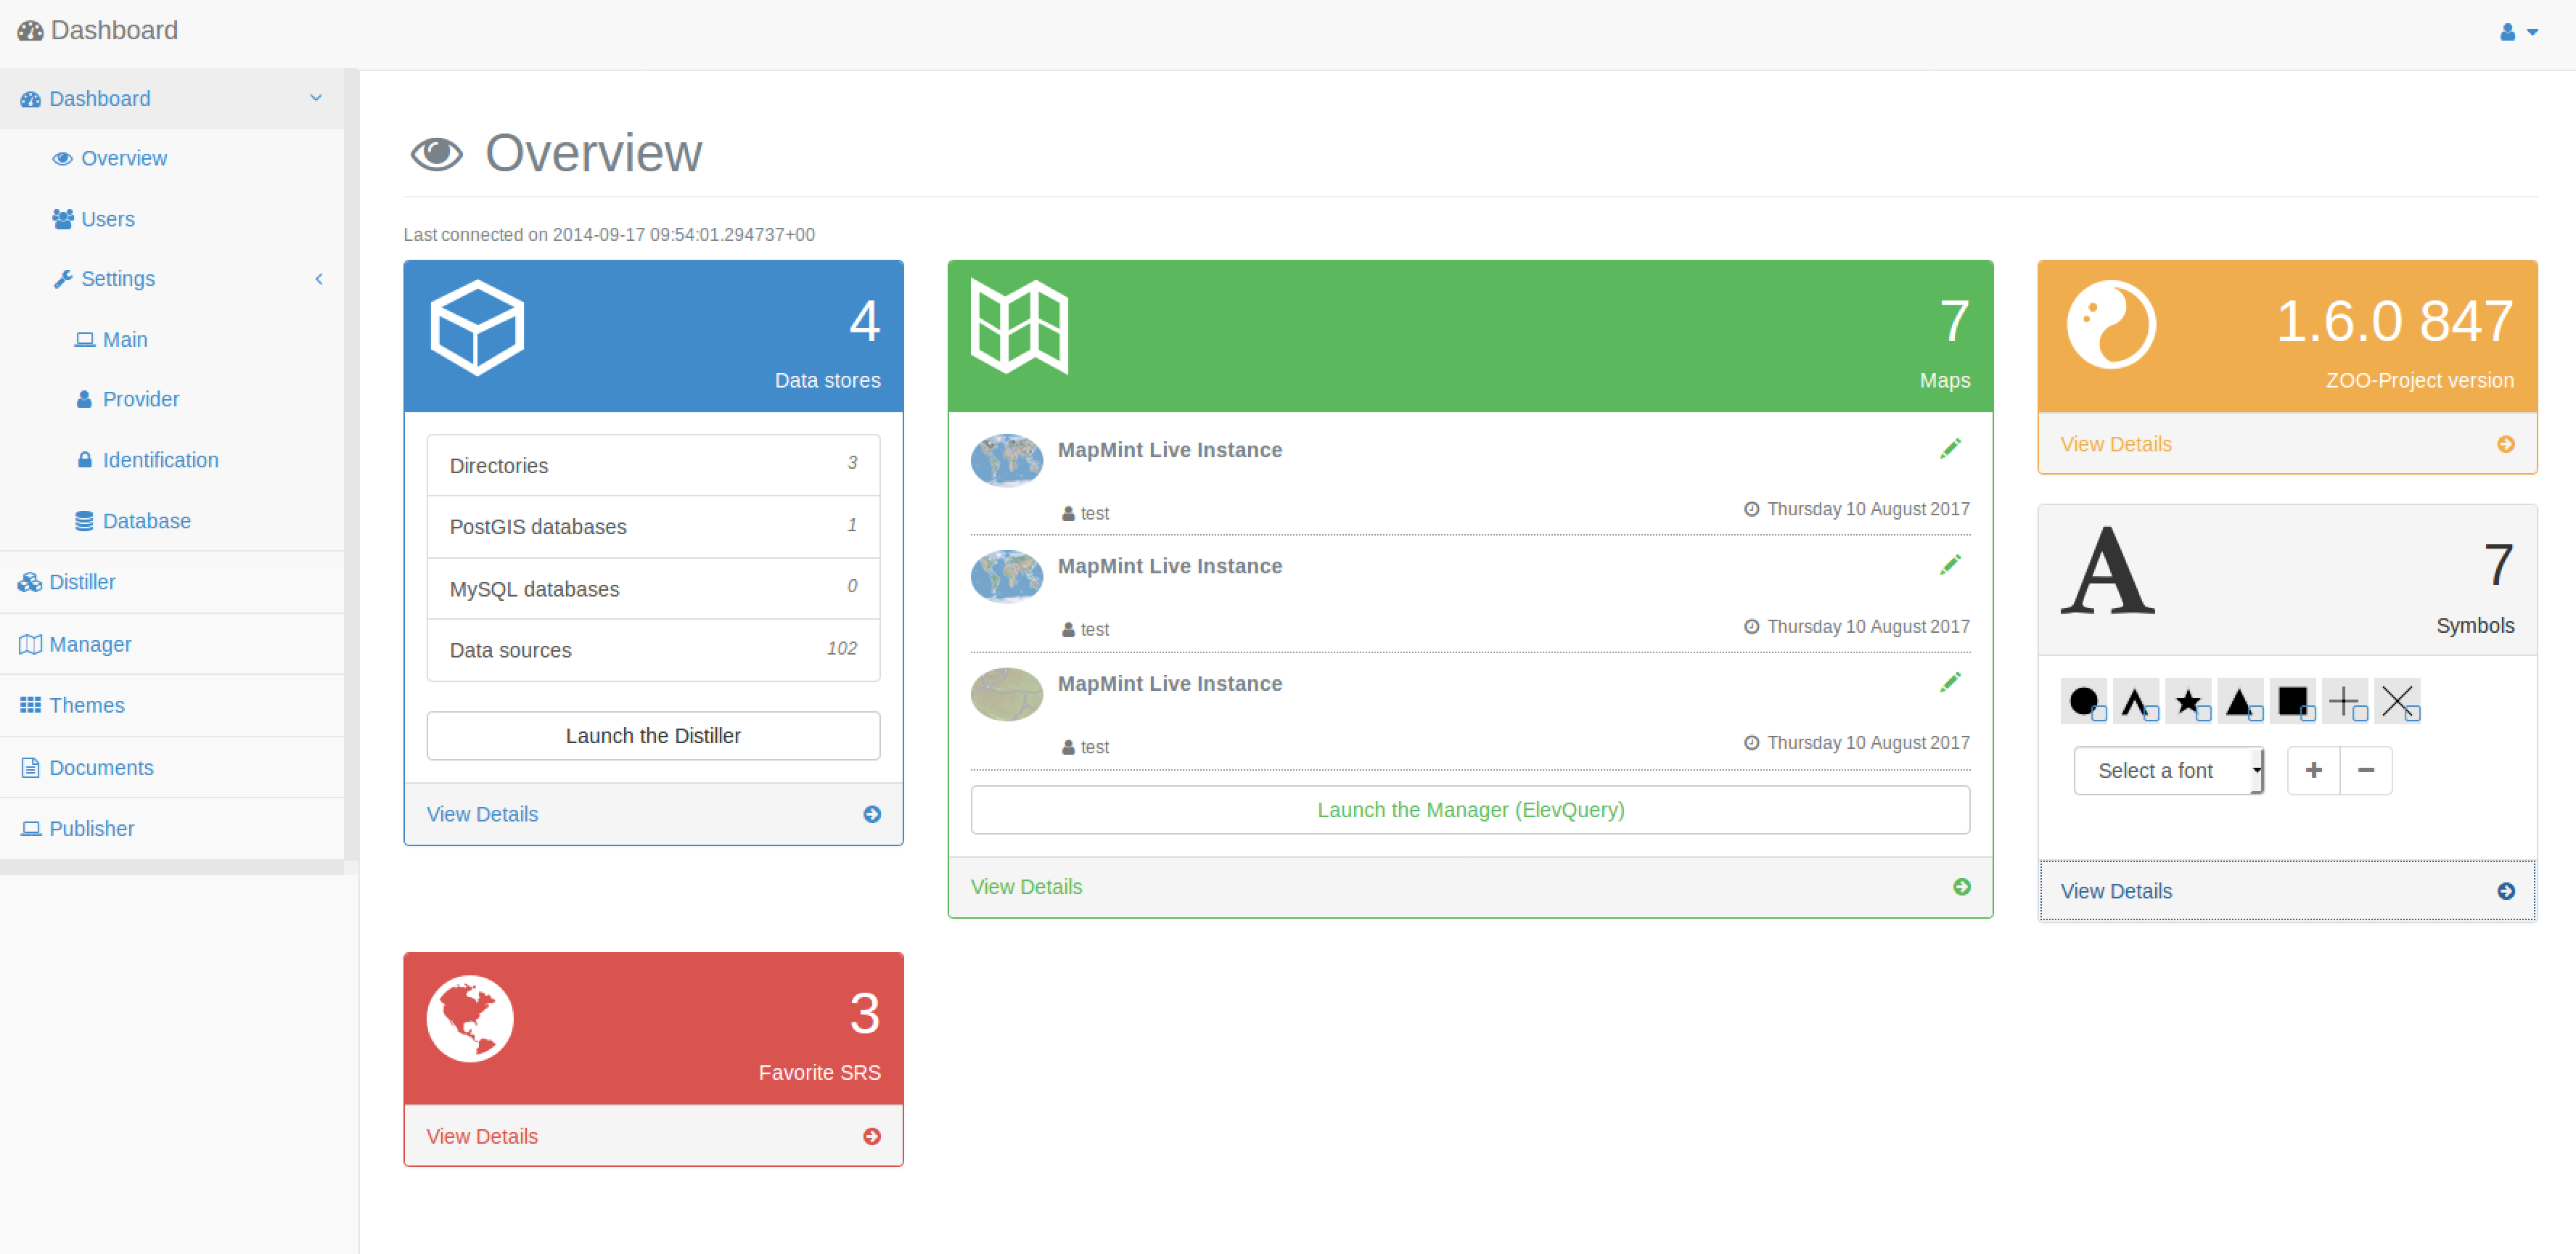
A success message should be displayed on top of your interface and the Dashboard module will load. In case you see a red banner on top rather than the expected green one, then please re-check the credentials and information entered by you.
Despite more modules are available in MapMint and can be activated by using specific parameter, for this workshop, the following modules are available in the administration interface. You can access them by using links on top of the interface, once logged in MapMint Admin.
Module |
URL |
Dashboard |
|
Distiller |
|
Themes |
|
Manager |
|
Publisher |
Accessing the public interface
The MapMint public interface can be accessed by using the following link http:localhost/ui/public/. Each published map is accessible from the maps listing page or can be directly accessed by using a specific URL (such as http://localhost/ui/public/your-map-name).
Module |
URL |
Public Interface |
|
Published Map |